Selection
Exercises
A D V E R T I S E M E N T
Start with a new document
(File > New), 400x400 pixels, with a white background.
For these exercises we'll
be making basic shapes by filling the selection.
- To fill a selection
with the background color, you can hit the
Ctrl backspace/Command
Delete key.
- To fill with the
foreground color, hit Alt
backspace/Option
Delete.
 For
the first shape draw a square, then subtract a circle and fill with black. For
the first shape draw a square, then subtract a circle and fill with black.

Use the polygonal lasso
to make a diamond shape (don't forget the shift key to constrain the angle).
 Then
invert the selection (Shift Ctrl/Command
I) and fill with white. Since this is just practice our shape won't be
perfect, but we could use grids and rulers for more precision. Then
invert the selection (Shift Ctrl/Command
I) and fill with white. Since this is just practice our shape won't be
perfect, but we could use grids and rulers for more precision.
Go to the view menu and
turn on rulers or hit Ctrl/Command-R.
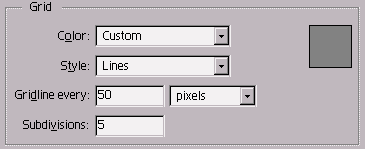
Turn on the grid next from the view menu or by hitting
Ctrl/Command-". Double
click on the ruler and change the units to pixels. Click Next and set the
grid lines for every 50 pixels with 5 subdivisions.
 Use
the grid to help you draw a perfect triangle. Use
the grid to help you draw a perfect triangle.
 Add
a rectangle to make a house shape. Add
a rectangle to make a house shape.
Then use more rectangles
to make a door and window.
With the single row
marquee tool you can add a line to form the base of your drawing.
 See
if you can figure out how to make the half circle window and the tree on your
own. See
if you can figure out how to make the half circle window and the tree on your
own.
 Then
use the magic wand in combination with other tools and modifier keys to change
the color of the house. Then
use the magic wand in combination with other tools and modifier keys to change
the color of the house.
And I'll bet you thought
you couldn't draw!
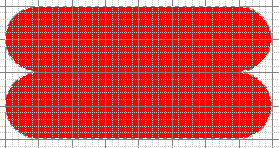
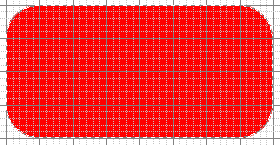
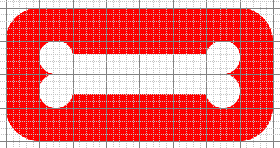
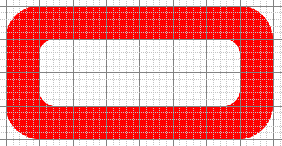
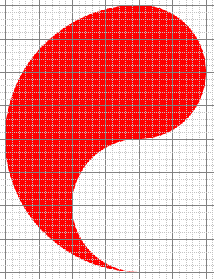
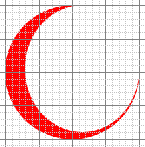
Here's some additional
shapes you can try to recreate on your own for practice. Remember to use the
grid as a drawing aid. You can toggle grid snapping on and off by pressing
Ctrl/Command-;.
I've left the grid visible in these screen shots to give you clues on how the
shapes were created.
|
